
Roof Flashing Installation Guide
Proper roof flashing installation is the unsung hero of every successful roofing project, silently preventing water intrusion at the most vulnerable points of a roof system. When installed incorrectly, these critical components can lead to moisture damage, structural deterioration, and costly callbacks. Understanding the nuances of different flashing types and installation methods is crucial for ensuring a watertight roof system.
In this comprehensive guide, we'll explore the various types of roof flashing used in modern construction, provide a detailed step flashing guide, and share professional tips to enhance your installation efficiency. Whether you're a seasoned roofer or expanding your technical knowledge, these insights are for you!
Common Types of Roof Flashing Materials
Understanding the various flashing options is fundamental to selecting the right solution for each roofing challenge. Each type serves a specific purpose in protecting different roof vulnerabilities.
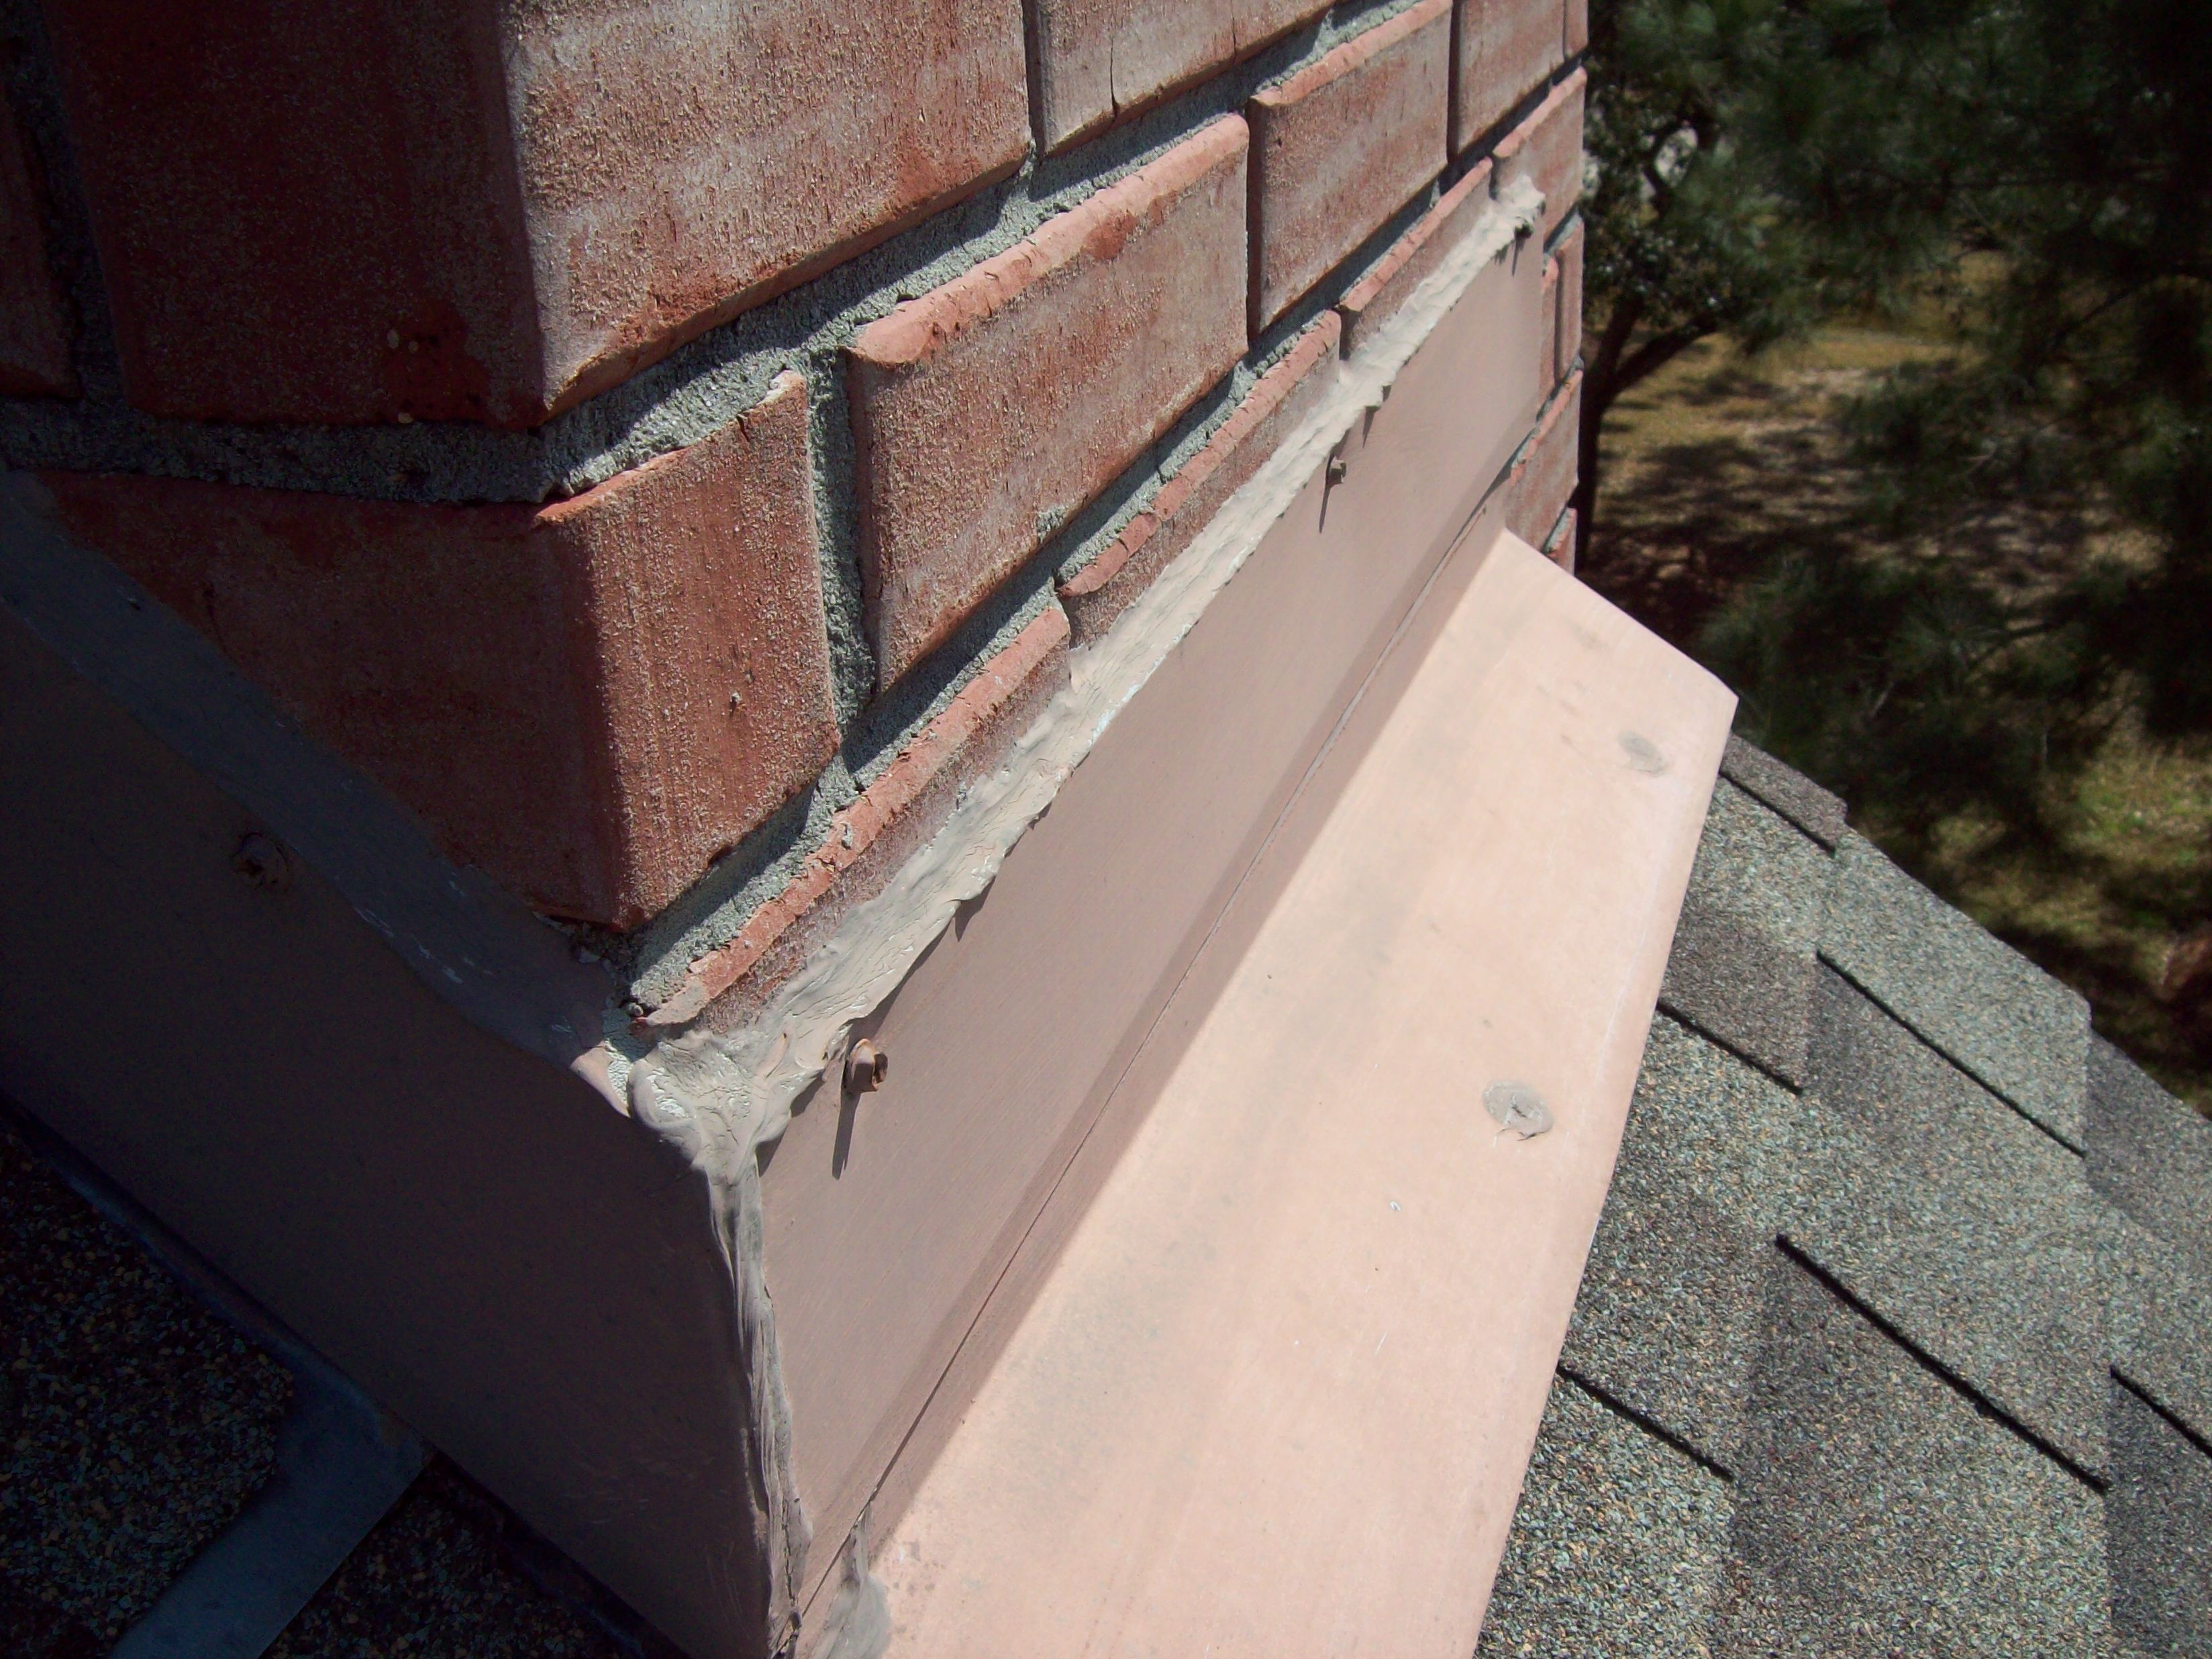
Base Flashing
Base flashing is typically installed where the roof meets a vertical surface such as a wall or chimney. It directs water onto the roof surface rather than behind the roofing material.
Step Flashing
Step flashing guide implementation is critical where roofs meet walls or chimneys at an angle. These L-shaped pieces are:
- Installed with each course of shingles
- Overlapped to create a water-resistant barrier
- Sized appropriately for the specific roofing material
- Secured to both the roof deck and the vertical surface
Valley Flashing
Valley flashing protects the internal angles formed when two roof planes meet, typically featuring:
- Wide metal sheets with center ridges
- Water-diverting channels
- Corrosion-resistant materials
Professional Roof Flashing Installation Techniques
Mastering installation requires attention to detail and adherence to industry best practices. These techniques ensure long-lasting protection against water infiltration.
Proper Measurement and Cutting
- Use aviation snips for precise cuts
- Allow for 2-3 inch overlaps between pieces
- Create upstands of appropriate height for vertical surfaces
- Factor in thermal expansion when installing metal flashing
Secure Fastening Methods
The longevity of your flashing depends largely on proper fastening:
- Use corrosion-resistant fasteners compatible with flashing material
- Position fasteners outside water channels
- Avoid over-driving nails that could damage or dent the flashing
- Space fasteners according to the manufacturer's specifications
Detailed Step-by-Step Flashing Installation
A comprehensive step flashing guide ensures watertight transitions between roofing and vertical surfaces. Follow these professional steps:
- Cut L-shaped flashing pieces to the appropriate size
- Install the first piece over the starter shingle
- Place flashing against the wall with the vertical leg extending up at least 4 inches
- Secure with a single nail at the top corner
- Install the next course of shingles over the horizontal leg
- Repeat the process, overlapping each piece by at least 2 inches
Troubleshooting Common Flashing Problems
Even experienced professionals encounter flashing challenges. Here are solutions to common issues:
- For oil canning (metal waviness): Use heavier gauge materials and proper fastening techniques
- For galvanic corrosion: Install isolation membranes between dissimilar metals
- For water backup: Ensure proper sizing and positioning of kickout flashing
- For thermal movement issues: Create expansion joints in long flashing runs
Learn From The Best at RoofCON
Mastering the various types of roof flashing and installation methods is essential for delivering high-quality, leak-free roofing systems. RoofCON stands as a leading authority in the roofing industry, providing contractors with the technical expertise and professional-grade solutions necessary to enhance their flashing installations.
From base flashings to complex chimney applications, the techniques covered in this guide represent industry best practices that will help you minimize callbacks and maximize customer satisfaction. For more in-depth information on related topics, see our complete guide on drip edge installation. Ready to stay ahead in the industry?